
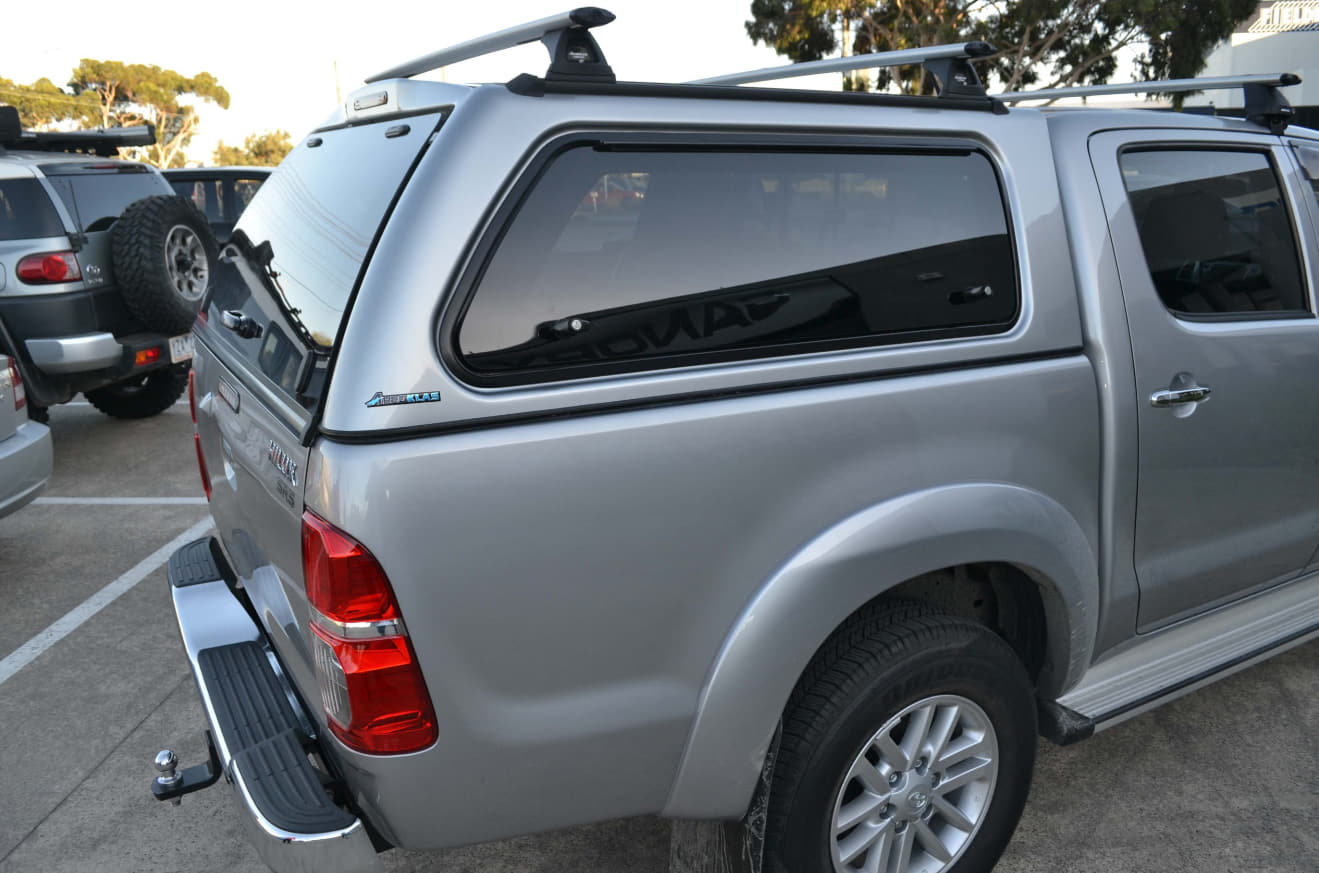
Are you ready to take your Toyota Hilux to the next level with an SR5 Dual Cab Canopy? Installing a canopy Toyota Hilux may seem like a daunting task, but with the right guidance, you can do it yourself in just five easy steps. Follow along as we walk you through the installation process, from start to finish.
Step 1: Prepare the Work Area
Before you begin, make sure you have enough space to work comfortably around your vehicle. Park your Toyota Hilux in a well-lit area and gather all the necessary tools and materials for the installation. This includes the canopy itself, mounting hardware, a socket wrench set, and any additional accessories you plan to install.
Step 2: Position the Canopy
Carefully position the SR5 Dual Cab Canopy onto the bed of your Toyota Hilux, ensuring that it is centred and aligned properly. Take your time to adjust the position as needed to achieve the desired fit and appearance. Once you’re satisfied with the placement, secure the canopy in place using clamps or straps to prevent it from shifting during installation.
Step 3: Attach the Mounting Hardware
With the canopy in position, it’s time to attach the mounting hardware to secure it to the bed of your Toyota Hilux. Refer to the manufacturer’s instructions for guidance on the specific hardware and attachment points required for your canopy model. Use a socket wrench set to tighten the bolts securely, ensuring that the canopy is firmly anchored to the vehicle.
Step 4: Seal the Edges
To prevent water and debris from entering the bed of your Toyota Hilux, it’s important to seal the edges of the canopy properly. Apply a bead of silicone sealant along the perimeter of the canopy where it meets the truck bed, ensuring a tight seal that is resistant to the elements. Take your time to apply the sealant evenly and allow it to dry completely before moving on to the next step.
Step 5: Test and Adjust
Once the canopy is securely installed and sealed, take a moment to test the fit and functionality. Open and close the canopy doors to ensure smooth operation, and check for any signs of movement or instability. If necessary, make any adjustments to the mounting hardware or seals to achieve the perfect fit. Once you’re satisfied with the installation, your SR5 Dual Cab Canopy is ready to go!
Conclusion
In conclusion, installing an SR5 Dual Cab Canopy on your Toyota Hilux is a straightforward process that can be completed in just five easy steps. By following this step-by-step guide and taking your time to ensure proper alignment and sealing, you can enjoy the added functionality and style of a SR5 dual cab canopy on your vehicle.